WA: Day 1 Seattle to Hyak
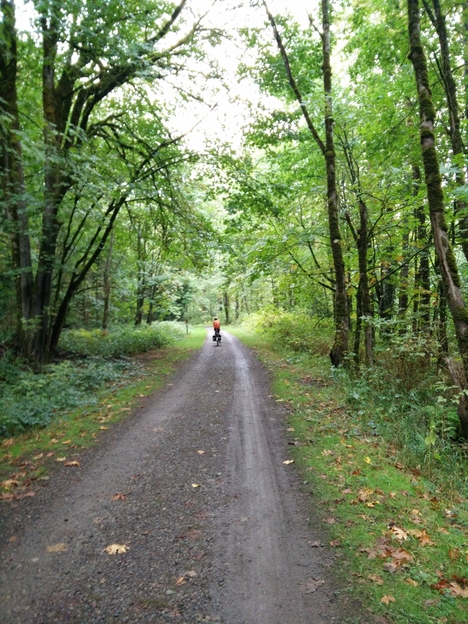
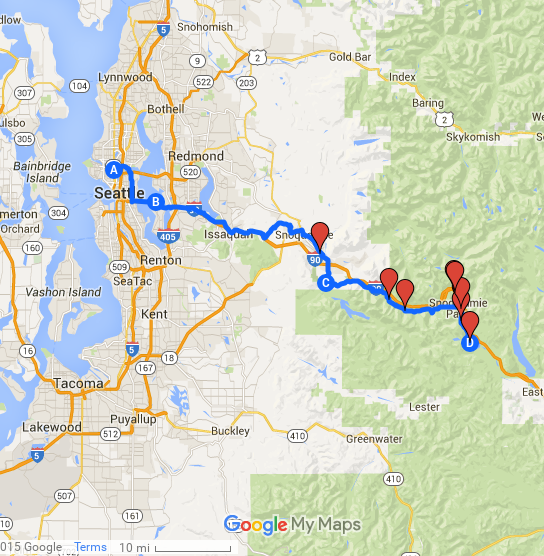
~70 miles/4700ft (Day 1 of the 5 day trip from Seattle to Portland via Yakima.)
I was too excited about our adventure and got only about three hours of sleep the night before! We got up around 6AM and headed to Mercer Island for breakfast with Mako’s parents. On the way over, we were passed by a bunch of randonneuring cyclists. One of them told us that they were taking the same route as us but going further to Ellensburg to camp out there.
Some things to remember:
This route is (or can be) mostly on bike lanes and bike trails: There was little traffic and much of the way to North Bend from Mercer Island was either on trails or bike lanes. The Iron Horse Trail starts soon after North Bend and this trail goes on for over 100 miles. Keep notes of paved and unpaved trails and any alternative paths alongside unpaved trails beforehand.
Not all bike trails are equal: I always preferred riding on trails to roads as I feel safer. I still prefer trails in most cases but after this trip, I am a little less enthusiastic about riding on a gravel trail. The Issaquah-Preston and Preston-Snoqualmie trails make it possible to almost completely avoid riding with cars between Issaquah and Snoqualmie, which I really, really appreciated.
** HOWEVER. **
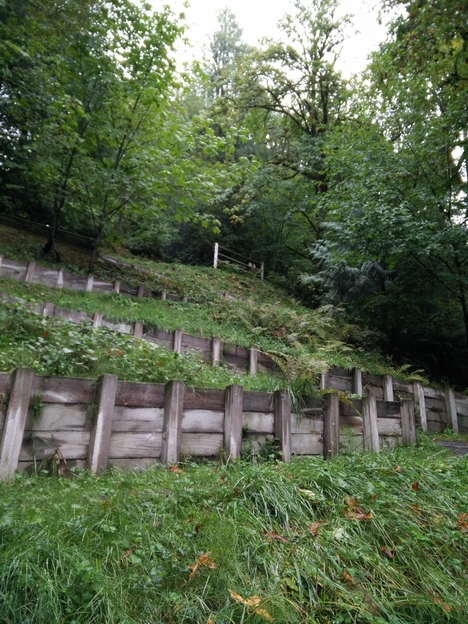
Switchbacks that replaced the old trestle on the Preston-Issaquah Trail. It’s steep and the turns are sharp enough we had to push our bikes up.
There are two parts where we had to push our bikes up. One of them was the switchbacks near Raging River and SE 68th Street. It was hard to turn a bike with a bunch of full panniers around the corners.
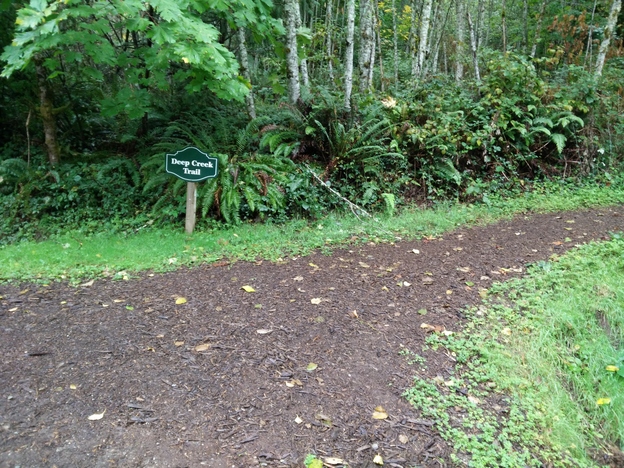
The Preston-Snoqualmie trail actually doesn’t go to donwtown Snoqualmie — it sort of ends in the middle of nowhere (but with a nice view of Snoqualmie Falls I hear), so we were supposed to get off the trail before the end and somehow climb up to Snoqualmie. So, we took this trail.
We quickly realized that much of this trail is not ridable with these full panniers, so we pushed our bikes up for about 30 minutes. It’s a nice hike in a mushroomy forest but with >30kg of stuff/bike to push, I had to take a couple breaks.
This experience taught us to be cautious of unpaved trails. Even though there was an unpaved trail to the trailhead of the Iron Horse Trail from North Bend, we took Cedar-Fall Road as we were afraid that the gravel would slow us down more. This road is a bit hilly and I was being whiny but it probably was faster than taking the gravel path.
Slow ride: I was definitely slower than usual, maybe riding at 10 miles/hour on average on road. We fell behind the schedule, so we got to North Bend (last town to pass today – picked up beer and had lunch) around 2PM. We got to our campsite around 6:30PM. The ascent on the Iron Horse Trail was never steep (1-2% grade) but it was long. I was climbing at 5 miles per hour but we were passed by some *fast* randonneuring cyclists who were trying to catch up to the group we saw on Mercer Island. These people were going up at at least 12-13 mph. I have no idea how they do it!
Bring ibuprofen and knee braces: My left knee was angry after a couple hours of climbing and I thought I had to quite the tour half way through Day 1! But ibuprofen, a knee brace, and my right leg doing 80% work made things much better.
Get sturdy bike racks and good panniers: I was *very* glad to have a sturdy rear rack and good bike panniers. We learned not to be stingy on bike racks the hard way when we first started biking long distance in Boston (we had to stop every 5 minutes to adjust the rack/panniers for a while).

The rear rack is great! The front rack is sturdy but Ortlieb bags can’t be attached very well. I had 3 bottle cages, so I carried 2 water bottles and 1 fuel container.
Bring bungee cords: Constant rattling on the gravel trail loosened some nuts on my fender. When the nuts and bolts fell onto the gravel road, it was impossible to find them, so Mako kindly bungeed up and carried my front fender for the remainder of the trip – luckily, it was sunny every day after I lost my bolts and nuts!
Change of sceneries: We started with drizzly Seattle, biked towards and into the clouds on the Iron Horse Trail, and came out of the tunnel to the sunny east side.
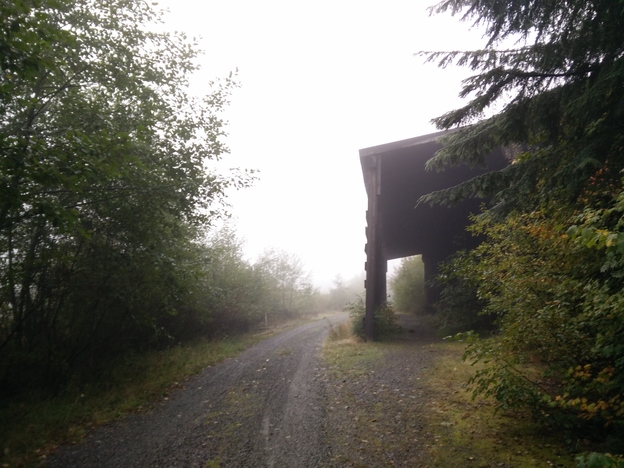
This is an old avalanche shelter for the trains near the Snoqualmie Pass. Already in the clouds and very misty.
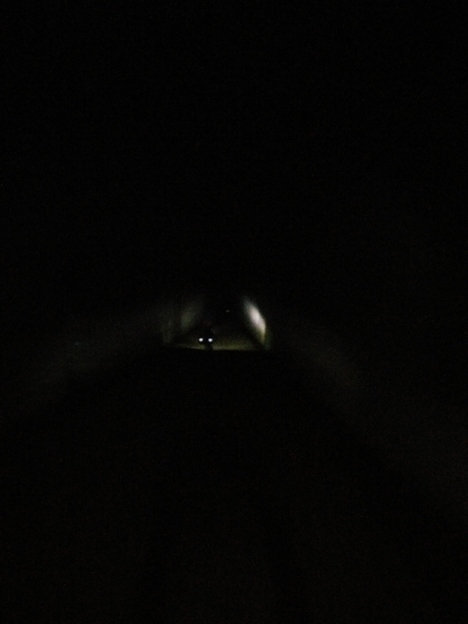
The Iron Horse tunnel is a fun and eerie experience! It’s awesome that I can bypass the climb to the summit. This 2.5 mile tunnel is completely dark and sandy. I’m glad that I had such a bright light and I hope I didn’t drop anything while biking in the tunnel…
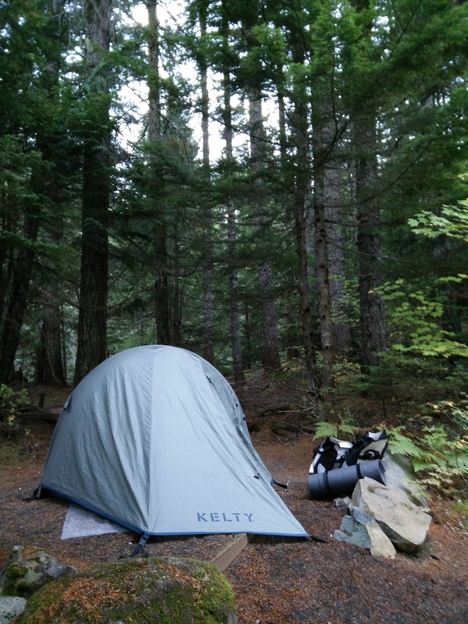
Primitive campsites are great: Of all the campgrounds we stayed in, the primitive campsite was my favorite. It doesn’t have running water but there’s a clean public restroom in Hyak just a couple miles from the first campsite on the trail (heading towards east). There are 4 primitive campsites along the trail before Easton and 2 are before the tunnel, so you don’t need to do all the climbing in one day. We aimed for the last campsite before Easton but it was starting to get dark, so we stayed at the third campsite close to the tunnel. These campsites are very clean and cheap too ($12/site?). Compared to bigger campgrounds, the toilets are closer to the tent sites, which is very much appreciated at night.
Cold at night: Even though it was in late September, the east side was quite cold at night. I had the sweater or long arm warmers on for half of the trip. The temperature started dropping around 5PM and by 7PM, I was wearing a long T-shirt, arm warmers, sweater, down jacket, heat pack, tights, leg warmers, hiking pants, and wool socks. Hot chocolate is a crucial item to bring for trips like this.
Not all dry camping food are equally good: We got REI’s dry huevos rancheros. It was a bit like regurgitated huevos rancheros. REI’s pad thai is much much better.
96 ounce Nalgene Wide Mouth Water Cantene makes a good pillow: I was not too too thirsty during the trip. I had some sort of sugary food every half hour during the ascent but three bottles of water were enough for the entire trip. We filled up the Nalgene containers in Hyak but we had much of the water left even after dinner. They turned out to be much better pillows than a pile of clothes.
Day 1 was tough because of the long ascent and unfamiliar gravel paths but I felt very, very good when I got to the campsite (and after chugging a can of Iron Horse Brewery beer). Although we biked by ourselves for much of the way, we saw a few other touring cyclists (one couple from Maine!) and it was good to meet and hear stories from other long-distance bikers.
